Happy Aniversary SIM PSP
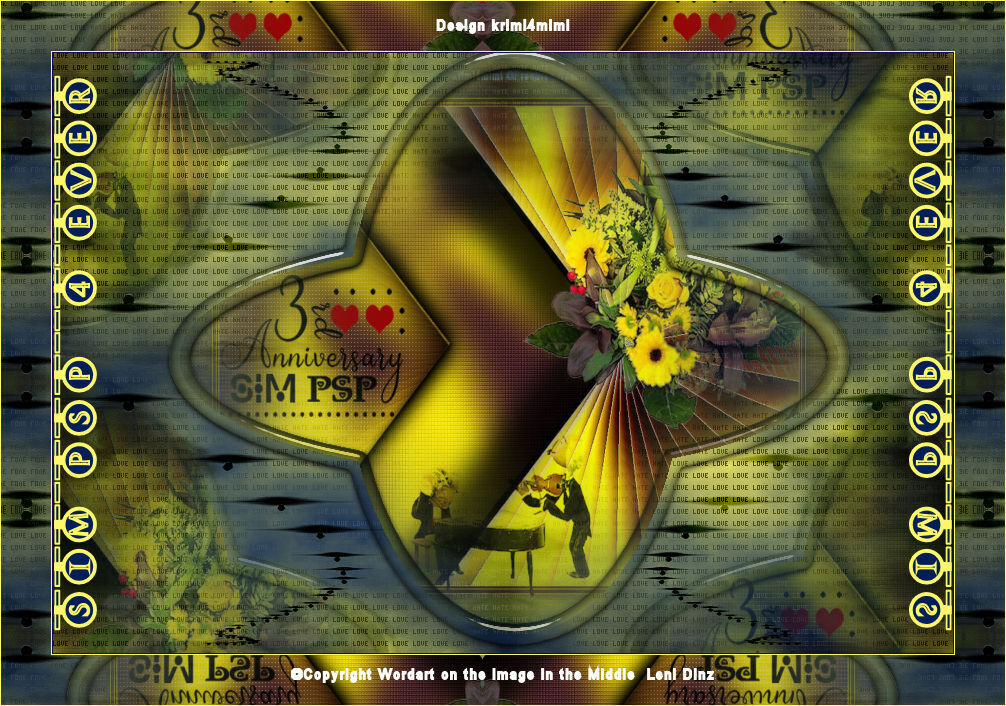
For the third aniversary of this fantastic group I am presenting my tutoria. It is my own idea completely and does not contain any elements I did not create myself.
Should you think that I infringe your copyright, Please come back to me.
For this turorial you need:
Material
Narah_Mask_1210
Selection Mimitut1
Deco Mimitut1Deko
https://filehorst.de/d/eAwaADCb
Filters
Mura's Meister – Cloud
VM Experimental – Love and Hate
Alien Skin Eye Candy 5 - Glass
Find yourself:
An image you created yourself according to an tutorial from this group
Preparations:
In your PSP, open a new transparent image 900 x 600 pixels
Chose a bright foreground and a dark background color
Place Mimitut1 in your selection folder
Mura's Meister – with the standard settings
Layers – New Raster Layer, exchange foreground and background color
Repeat step 1
Open Narah_Mask_1210 and then on your main iamge
Layers – New Mask Layer – From image - Narah_Mask_1210
Effects – Edge Effects – Enhance More and then Layers – Merge – Merge Group
Blend Mode - Overlay
Image – Resize to 50 %
Objects – Align – Top
Objects – Align - Left
Layers - Duplicate
Image – Mirror – Mirror Horizontal
Layers – Merge – Merge Down
Layers - Duplicate
Image – Mirror – Mirror Vertical
Layers – Merge – Merge Down
Selections – Load/Save Selection - Load Selection from Disk - Mimitut1
Selections – Promote Selection to Layer
Selections – Select None
Effects – Image Effects – Seamless Tiling - Default
Load once more the Mimitut1
Promote Selection to Layer
Select the layer below and press Delete
Go back to the top Level – Selections – Select None
VM Experimental – Love and Hate
Blend Mode – Luminance (Legacy)
Layers – Arrange – Move Down
Go to the top level and once more load the Mimitut1
Layers – New Raster Layer
Edit your image for a different tutorial using the 20-20 mask and copy it
Back on your main image: Edit – Paste into Selection
Selections – Modify – Select Selection Borders
Both Sides – 10 – Antialiasing
Set a linear gradient with Angle 45 and Repeats 10. Layers – New Raster Layer, fill the selection with the gradient
Adjust – Blur – Gaussian Blur with Radius 35
Blend mode - Multiply
Alien Skin Eye Candy 5 – Glass – Clear
Selections – Select None
Copy Mimitut1Deko
Copy – Paste as New Layer
Layers – Merge – Merge Down
Layers - Duplicate
Select the original: Effects – Image Effects – Seamless Tiling - Default
Blend mode – Soft Light
Image – Add Borders – 1 Pixel backgrond color
Image – Add Borders – 1 Pixel foreground color
Edit - Copy
Selections – Select All
Image – Add Borders – 50 Pixels any color
Selections – Invert
Edit – Paste into Selection
Adjust – Blur – Gaussian Blur, Radius 30
Filter Unlimited – &
Add your signature. I did not use any material from other artists. If you used such material for your other iage, please also add the Copyright.
Image – Add Borders – 1 Pixel background color
Save as a JPEG
I hope you liked my first attempt and I would very much like to see your versions.